Introduction:
In this lab, we studied lenses and mirrors, and how to make a basic telescope with them, much like the first one that Galileo used.
Procedures:
In order to measure the attributes of our lenses and mirrors, we used a meter stick held up by supporters, and a lens-grasper to hold the lens/mirror in place while the measurements were being taken. To get the measurements, we held a piece of white paper in front of or behind the lens/mirror, moved it until the image was in focus, and took note of where the paper was on the meter stick, and what the image looked like.
Here are the exact steps:
- We were given a packet of lenses and mirrors. We opened the packet once it was sitting safely on the lab table.
- We recorded our lens kit number which is kit #10.
- We numbered the lenses and mirrors, and separated the concave lens from the convex lenses. We determined what type of lenses and mirrors we had in our set and described them.
- We measured the focal length of the convex lenses by forming the image of a lightbulb (our lightsource) from across the room. We measured the distance between the lens and the image.
- With the largest diameter convex lens, we formed a sharp image of the object on a white surface/note card. We measured the lens-to-image distance in centimeters, and recorded it in our results. We also measured the size of the image, in millimeters, formed by the lens. We recorded the size and the orientation of the image in our results as well. We also made note of the relative brightness of the image compared to the other lenses.
- We repeated the above steps for the rest of the convex lenses in our set but were not able to do so with the concave lenses.
- We then determined and recorded the focal length, image size, and brightness of the image of the mirrors.
- With the convex lens with the longest focal length setup to produce a sharp image on the white surface: we half covered the lens with an index card and noted what happened to the image.
- Next we worked on assembling our telescope. In a refractor, an image is formed by the objective lens at a distance of one focal length behind it; we called this distance fO. We placed the eyepiece lens at a distance equal to the focal length of the eyepiece (fE) beyond the image formed by the objective. The total separation of the two lenses is fO + fE. In order to maintain this separation and keep out stray light, we mounted the lenses in a tube. We mounted the convex lens which had the longest focal length at the front of the tube as the objective. We mounted one of the other convex lenses as the eyepiece and slid the tubes open to roughly the proper separation for focusing on very distant objects. We refocused as necessary to observe objects across the room. We tried to focus on objects that were as far away as possible. We recorded the orientation of the images that we saw through our telescope.
- We repeated the last steps by changing the eyepiece to the other convex lenses. We recorded any similarities and differences.
- We were given the formula for the magnification of a telescope as: M = fO/fE. We then calculated the magnification of our telescope from the earlier parts. We compared the results with our estimates of how many times bigger objects looked in each case.
- We used the concave lens as the eyepiece in our telescope with the same lens as before for the objective lens. We found the focus at a much closer separation of the lenses.
- We observed objects around the room. We recorded the orientation and estimated the magnification of this telescope. We recorded any similarities and differences compared to the astronomical refractor.
Results and Discussion:
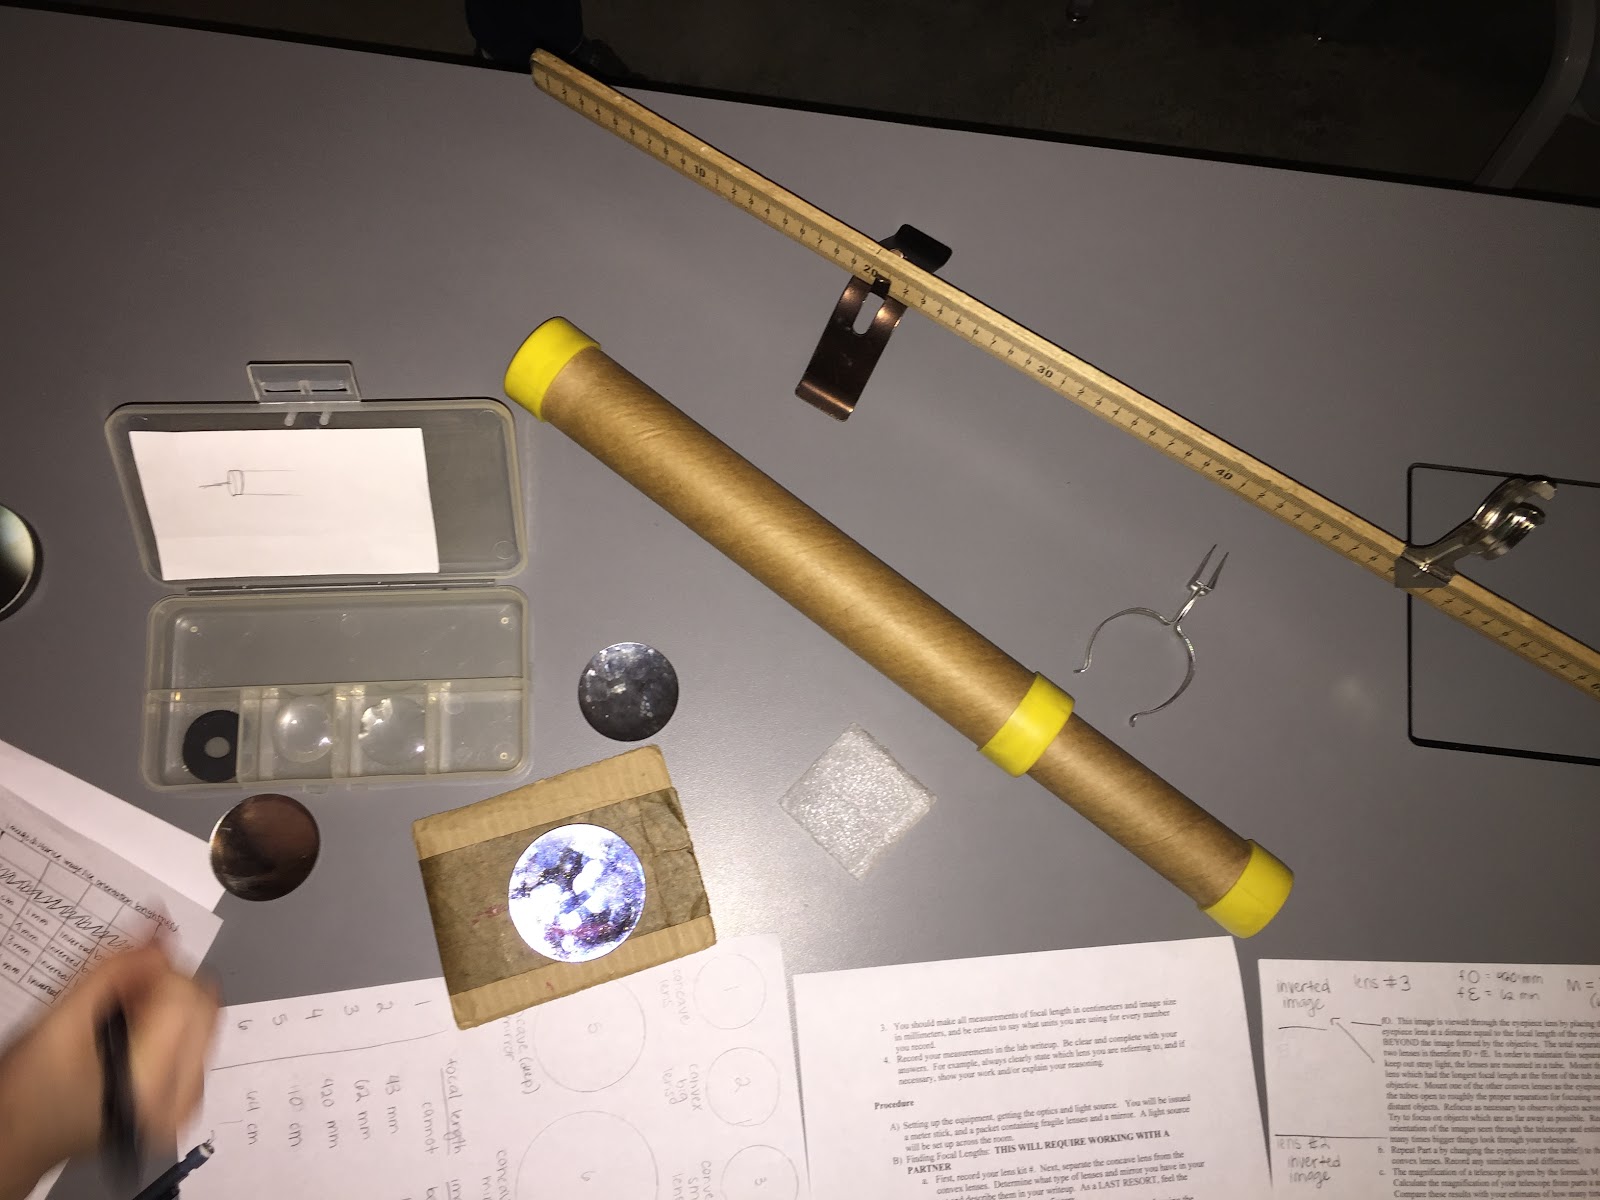
Here is a photo of most of the tools that we used.

Here is a photo of our original chart and how we numbered/labeled our lenses and mirrors.
Type of lens/mirror
|
Focal length
|
Object size
|
Orientation
|
Brightness
|
Concave lens
|
Cannot be determined
|
“
|
“
|
“
|
Convex big lens
|
4.3cm
|
1mm
|
Inverted
|
Bright
|
Convex small lens
|
6.2cm
|
1mm
|
Inverted
|
Bright
|
Normal lens
|
42.0cm
|
3mm
|
Inverted
|
Brighter
|
Concave deep mirror
|
10.0cm
|
1mm
|
Inverted
|
Brighter
|
Concave slight mirror
|
64.0cm
|
4mm
|
Inverted
|
Brightest
|
B.)
E. Which lens does the mirror’s properties most resemble?
The concave deep mirror had most similar properties to the convex small lens. The concave slight mirror had most similar properties with the normal lens.
F. When you half cover the lens, do you still see the entire image of the light bulb? How does the brightness and clarity of the image change as you cover the lens?
No, when we covered part of the lens we could not see the entire image anymore. The brightness became dimmer and the image was less clear.
C.)
- We used lens #2 for the first lens which resulted in an inverted image, and we estimated the objects to be 9x bigger through the telescope
- We used lens #3 for the second lens which also created an inverted image, and we estimated the magnification to be 5x bigger.
- We calculated the magnification of the lenses, with the results of:
- Lens #2: 420/43 = 10 (so the magnification is 10x bigger through the telescope), which is very close to our estimation.
- Lens #3: 420/62 = 7 (so the magnification is 7x bigger through the telescope). This was also pretty close to our estimation.
D.)
B. The orientation for the concave lens is upright which is different than the astronomical refractor with the convex lenses. We estimated the magnification of this telescope to be 7x bigger which is similar to the astronomical refractor.
Conclusion:
By completing this lab, we learned firsthand the effects of lenses and mirrors, and what they can accomplish. It was interesting to see how easy it was to create a telescope that was a lot like the original one that Galileo used all the way back in 1609.
No comments:
Post a Comment